- English
- 简体中文
- Español
- Português
- русский
- Français
- 日本語
- Deutsch
- tiếng Việt
- Italiano
- Nederlands
- ภาษาไทย
- Polski
- 한국어
- Svenska
- magyar
- Malay
- বাংলা ভাষার
- Dansk
- Suomi
- हिन्दी
- Pilipino
- Türkçe
- Gaeilge
- العربية
- Indonesia
- Norsk
- تمل
- český
- ελληνικά
- український
- Javanese
- فارسی
- தமிழ்
- తెలుగు
- नेपाली
- Burmese
- български
- ລາວ
- Latine
- Қазақша
- Euskal
- Azərbaycan
- Slovenský jazyk
- Македонски
- Lietuvos
- Eesti Keel
- Română
- Slovenski
- मराठी
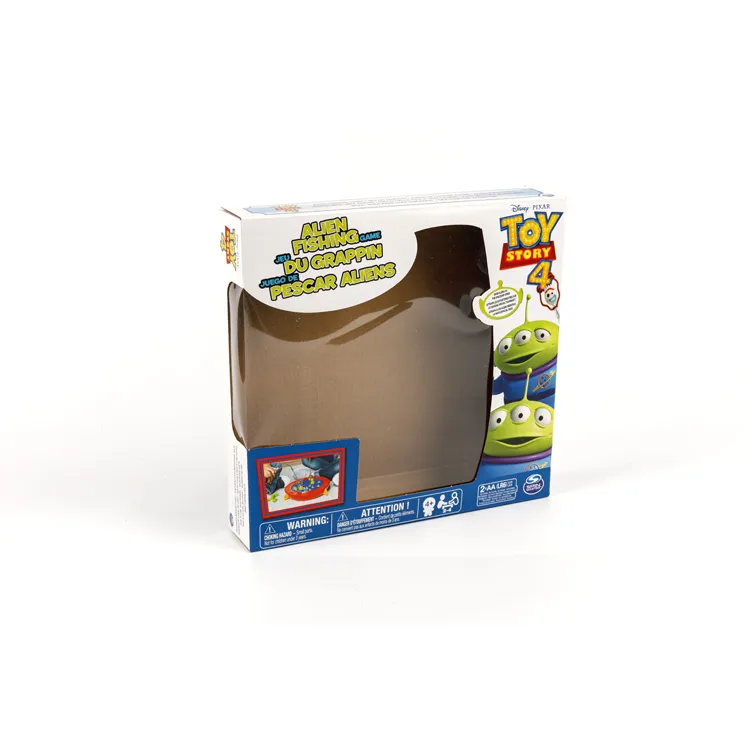
How to Make a Paper Window Box
2024-10-22
Creating a paper window box is a fun and easy DIY project that can add a decorative touch to your home, classroom, or as a charming craft project. Whether you use it as a display or for small plants, it's a creative way to bring a bit of nature indoors. Follow these simple steps to craft your own paper window box!
Materials Needed:
- Construction paper or cardstock (for sturdiness)
- Scissors
- Ruler
- Pencil
- Glue stick or double-sided tape
- Decorative elements (optional: colored markers, stickers, etc.)
---
1. What Size Should Your Paper Window Box Be?
Measure and Plan
Before starting, decide the dimensions of your paper window box. You can make it any size you like, but a good starting point is a box that is 5 inches wide, 3 inches deep, and 3 inches high. You can adjust these measurements based on the space where you'd like to place it.
Draw the Box Template
Using a ruler and pencil, lightly sketch out the following template on your paper:
- A large rectangle for the base (5 inches by 3 inches).
- Four rectangles on each side of the base for the sides of the box. These should be 3 inches high and 5 inches wide for the longer sides, and 3 inches high and 3 inches wide for the shorter sides.

2. How Do You Cut and Fold the Paper?
Cut the Template
Once you have drawn the box template, carefully cut along the outer edges of the shape using scissors. You should now have a cross-shaped cutout with a rectangular base and four attached side panels.
Score the Fold Lines
To make folding easier, lightly score the fold lines using the back of the scissors or a blunt edge. Do this along the edges of the base where it connects to the four sides. Be careful not to cut through the paper.
Fold the Sides Up
Fold along the scored lines to lift the sides of the box upwards, forming the walls of the window box.
---
3. How Do You Assemble the Paper Window Box?
Glue the Flaps
To hold the box together, apply glue or double-sided tape to the edges of the side panels. Attach the shorter sides to the longer sides to create a secure box shape. Press firmly to ensure the glue holds.
---
4. How Can You Add Details to the Paper Window Box?
Decorate the Box
Once your box is assembled, you can personalize it by adding decorative touches. Use colored markers, stickers, or paint to decorate the outside of the box with patterns, flowers, or any design that fits the style you want.
Optional: Add a Liner
To make the window box more durable, you can add a liner by cutting a second piece of paper to the size of the base and sides, then gluing it inside the box. This can also be done with patterned or decorative paper for a nice contrast.
---
5. How Can You Use Your Paper Window Box?
Display Small Plants or Flowers
Though it’s made of paper, this window box can hold lightweight, artificial flowers, or dried flowers to brighten up a space. You can even make paper flowers to match!
Use as a Decorative Shelf Accent
Place the paper window box on a small shelf or windowsill as a cute decorative element. Add little trinkets, mini pots, or decorative items to give it personality.
---
Conclusion
Making a paper window box is a simple and enjoyable craft project that allows for creativity while also being a lovely decoration for your home or workspace. By following these steps, you’ll have your own handcrafted window box ready in no time. Whether used for decoration or as a fun project with kids, it's a charming way to bring some creativity into your space.
As one of the professional Paper box manufacturers and suppliers in China, we guarantee the large quantity in shortest delivery time.Welcome to inquiry us at andy@starlight-printing.com.


